 Birch Bay Siding
 Windows Built for California Creek's Marine Exposure
California Creek sits close enough to Birch Bay's shoreline that homes here take a different kind of weather beating than houses further inland in Whatcom County. Salt-laden air moves in off the water, wind-driven rain finds its way into gaps that would stay dry almost anywhere else, and the long gray stretch of fall through spring keeps north-facing walls and window sills damp for months at a time. Window installation in this neighborhood isn't just about picking a good window — it's about installing it in a way that respects how much moisture this specific stretch of coastline throws at a building envelope.
We've done enough window work around Birch Bay and the surrounding Whatcom County shoreline to know that a window that performs fine in a subdivision fifteen minutes inland can fail early here if it's installed with inland assumptions. That's the gap we focus on closing for California Creek homeowners.
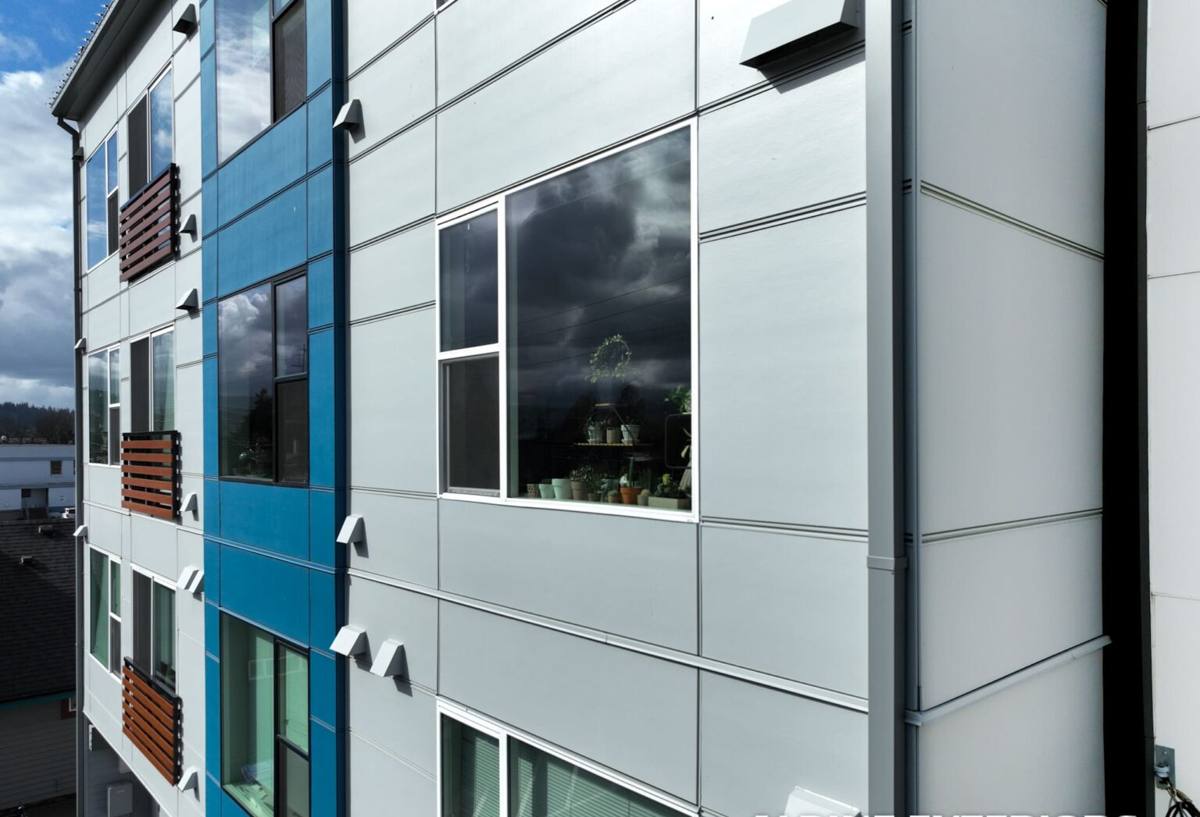
What This Climate Actually Does to Windows Over Time
Salt Air and Metal Fatigue
Airborne salt is corrosive to exposed fasteners, cheap window hardware, and unprotected aluminum components. Over years, that corrosion shows up as pitted screws, stiff or sticky locks, and cladding that discolors faster than it would a few miles inland. It doesn't ruin a window overnight, but it shortens the life of the parts that keep a window operating smoothly and sealing tightly.
Driving Rain and Wind Pressure
Storms coming off the water don't just drop rain straight down — wind pushes it sideways into wall assemblies, siding laps, and window perimeters. A window that's flashed correctly sheds that water back out. A window that's caulked-and-hoped-for-the-best instead of properly flashed will eventually let water track behind the frame, and once that starts, the damage happens inside the wall where nobody sees it until there's a problem.
Moss Season and Prolonged Moisture
Whatcom County's long wet season means shaded and north-facing exteriors stay damp for extended stretches, which is exactly the environment moss, algae, and slow wood rot need to get established. Window sills, trim, and the wall area directly below a window are common places we find early moisture staining on older homes in this area — usually because sealant failed or flashing was never installed correctly in the first place.
Signs a California Creek Home Needs New Windows
Most homeowners don't think about their windows until something feels obviously wrong. By the time that happens, moisture has often been getting in for a while. Here's what we tell people to watch for:
- Visible gaps, soft spots, or discoloration in the trim or siding immediately around a window
- Windows that are difficult to open, close, or lock — often a sign of frame warping or hardware corrosion
- Condensation forming between the panes of a double-pane window, which means the seal has failed
- A noticeable draft or cold spot near a window frame during windy weather
- Visible fogging, cloudiness, or a milky appearance in the glass
- Peeling paint or bubbling on interior trim near a window — often the first visible sign of hidden moisture
- Musty smell in a room with no obvious source, especially near an exterior wall
Any one of these on its own might be minor. Several at once, especially on the side of the house that faces prevailing weather, usually means it's worth having someone look at the whole window and its surrounding wall assembly, not just the glass.
What a Correct Window Installation Actually Involves
Window installation looks simple from the outside — pull the old one, set the new one, caulk the edges. Done that way, it's also one of the most common sources of water intrusion in coastal homes. A correct install is really about managing water at every layer, in order, so that if any one layer fails, the next one still protects the wall.
| Step | Shortcut Approach | Correct Approach |
|---|---|---|
| Sill preparation | Set window directly on existing sheathing | Install a sloped sill pan flashing so any water that gets in drains back out |
| Flashing sequence | Caulk around the perimeter after the window is in | Integrate flashing tape with the window flange in proper shingle-lap order, tied into the house wrap |
| Air and water sealing | Rely on exterior caulk alone | Seal at the interior air barrier and use backer rod plus sealant at the exterior in the right locations, not everywhere |
| Shimming and leveling | Wedge and move on | Shim at manufacturer-specified points so the frame isn't stressed and operates smoothly for years |
| Insulation around frame | Skip it or over-pack with expanding foam | Use low-expansion foam or backer rod to fill the gap without bowing the frame |
The sill pan step matters more here than it would in a drier climate. If wind-driven rain ever does get past the exterior seal — and eventually, on a home exposed to the water, it usually does at some point over a window's lifespan — a sloped pan is what sends that water back outside instead of into the wall cavity. Skipping it is the single most common reason we find rot when we open up an older window during a replacement.
Choosing the Right Window Material for This Location
Frame material matters more in a salt-air, high-moisture environment than it does further inland. We walk homeowners through the real trade-offs rather than pushing one product line:
| Frame Material | How It Handles This Climate | Maintenance Reality |
|---|---|---|
| Vinyl | Resists corrosion and rot well; performance depends heavily on installation quality | Low maintenance, but lower-end vinyl can warp with sun and temperature swings over time |
| Fiberglass | Very stable dimensionally, holds up well against moisture and salt exposure | Low maintenance, higher upfront cost, long service life |
| Wood-clad | Attractive interior look, but the cladding must stay intact to protect the wood core from coastal moisture | Higher maintenance; any cladding breach can lead to hidden rot before it's visible |
| Aluminum | Strong but conducts heat and cold, and standard aluminum is more prone to salt corrosion without upgraded coatings | Moderate maintenance; not our default recommendation for direct water-facing exposures here |
We don't push homeowners toward a single "best" material — the right choice depends on the home's exposure, budget, and how much upkeep the owner wants to take on. What we do insist on is not installing a premium window with a corner-cut installation, because the install quality matters more to long-term performance than the brand name on the frame.
Glass and Weatherstripping Details Worth Asking About
Beyond the frame, a few details matter specifically for a home exposed to wind and salt air:
- Look for corrosion-resistant hardware and fasteners, not standard-grade screws
- Ask what the weatherstripping is made of and how it's rated to hold up under repeated wet-dry cycles
- Confirm the glass package (low-E coating, gas fill, spacer type) matches what you're actually paying for — spacer quality affects how long a seal resists fogging
- Check the manufacturer's warranty terms on seal failure and hardware, and whether it's prorated over time
Our Installation Process
For a California Creek project, our process is built around managing water and air sealing at every stage, not just getting a new window into an opening:
- On-site assessment — we inspect the existing window, surrounding trim, and sheathing for any hidden moisture damage before quoting the job
- Measurement and product selection — accurate measurements and a frame material discussion based on the wall's specific sun and weather exposure
- Removal — careful removal of the old unit, checking the framing and sheathing underneath for rot before proceeding
- Sill pan and flashing installation — sloped sill pan and shingle-lapped flashing tape tied into the existing house wrap
- Setting the window — leveled, plumbed, and shimmed at manufacturer-specified points
- Air sealing and insulation — interior air seal and appropriate gap-fill around the frame
- Exterior finish work — trim, caulking at the correct joints only, and paint or stain match where applicable
- Final walk-through — operation check on every window, and a look at the surrounding exterior finish before we consider the job done
Cost Factors Homeowners Should Understand
Window installation pricing varies a lot based on more than just the window itself. Rough cost ranges depend heavily on:
| Factor | Why It Moves the Price |
|---|---|
| Window size and type | Larger units, custom shapes, or operable configurations (casement, awning) cost more than standard sliders or double-hungs |
| Frame material | Fiberglass and premium vinyl run higher upfront than builder-grade vinyl |
| Condition of existing framing | Hidden rot found during removal adds repair work before a new window can go in correctly |
| Number of windows | Doing a whole elevation or the full house at once typically lowers the per-window labor cost |
| Access and height | Second-story or hard-to-reach windows take more time and equipment |
We always give a firm, itemized quote after the on-site assessment rather than a phone estimate — too much of the real cost on an older home depends on what's actually behind the existing trim.
Timing the Job Around Local Weather
Whatcom County's wet season makes scheduling matter more here than it might elsewhere. Installing during a stretch of dry, mild weather reduces the risk of moisture getting into the wall assembly mid-installation, and it gives sealants and flashing tape the conditions they need to set up properly. We plan around realistic weather windows rather than pushing a job through in the middle of a storm system just to hit a deadline.
Why Local Experience on California Creek Matters
A crew that's worked this specific stretch of Birch Bay already knows which elevations take the worst of the wind-driven rain, where moss and moisture tend to collect, and what kind of hidden damage tends to show up when an older window comes out. That's not something you can fully account for from a general product spec sheet — it comes from having actually opened up walls in this neighborhood before. It also means a straightforward conversation about what your home genuinely needs, without upselling a product that doesn't fit the situation or the budget.
If you're noticing drafts, sticking sashes, fogged glass, or any staining around a window on your California Creek home, we're happy to take a look. Reach out for a free, no-pressure estimate — the form below is the easiest way to get started.