 Birch Bay Siding
 Why New-Construction Windows Deserve Extra Attention Out Here
If you're framing a new home or an addition near Nooksack, the windows you choose and how they're installed will shape how that house performs for the next 20-30 years. Unlike a replacement window that gets fitted into an existing, already-sealed opening, a new-construction window is set into a rough opening before the siding and finish work go on. That means the window and its flashing become part of the wall's water management system from day one — not something bolted in afterward. Get that sequence wrong and you won't see it for years, until moisture finds its way into the framing.
We install new-construction windows on homes throughout the Birch Bay area, including projects around Nooksack, and the climate here doesn't give you much room for error. Salt-tinged marine air, long stretches of driving rain, and a moss season that seems to run half the year all put steady pressure on window systems. A window that's correctly specified and correctly flashed handles all of that quietly for decades. One that isn't will tell you about it through stained drywall, soft trim, or a fogged-up sealed unit a few years down the road.
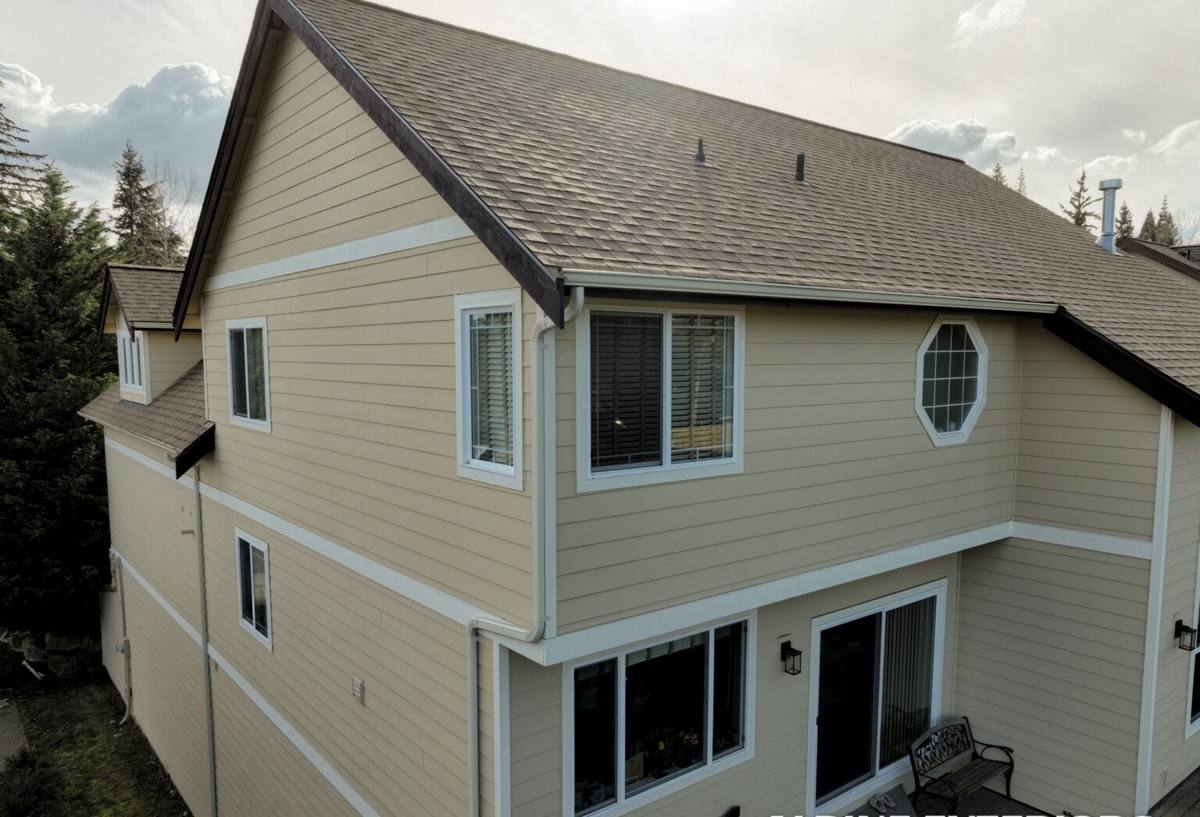
What Whatcom County's Coastal Climate Does to New Windows
Salt Air and Corrosion
Proximity to saltwater means airborne salt settles on everything, including window hardware, fasteners, and metal flashing. Standard zinc-plated screws and uncoated aluminum components can start corroding faster here than they would inland. It's a slow process, but it's steady, and it's one of the first things we account for when specifying hardware for a Nooksack-area build.
Driving Rain
Wind-driven rain off the water doesn't just fall straight down — it gets pushed sideways into wall assemblies, testing every seam around a window opening. A window can carry a great energy rating and still leak if the flashing details around it weren't built to shed water that's coming in at an angle, not just from above.
A Long Moss and Damp Season
Extended periods of gray, damp weather keep humidity levels up for months at a time. That matters for condensation control at the glass and frame, and it matters for how forgiving (or unforgiving) a wall assembly is if any water does get past the window. A wall that can dry out matters as much as a wall that keeps water out in the first place.
New-Construction Windows vs. Replacement Windows: The Install Difference
People sometimes assume "new-construction window" just means a newer version of a replacement window. It's actually a different product and a different installation method entirely.
| Feature | New-Construction Window | Replacement (Pocket) Window |
|---|---|---|
| How it attaches | Nailing flange fastened to the framing, integrated with the WRB | Fits inside the existing frame, no nailing flange |
| When it's installed | Before siding/exterior finish goes on | After the home is finished, into an existing opening |
| Water management | Built into the wall's flashing plan from the start | Relies on the condition of the existing opening |
| Best use | New builds, additions, full wall reframes | Existing homes not undergoing framing changes |
For a Nooksack-area new build, this distinction matters because the window installer is effectively also a water-management contractor for that opening. The flashing sequence around a new-construction window has to work with the house wrap, the sheathing, and eventually the siding — all details that don't exist yet when the window goes in.
The Correct Way to Flash and Set a New-Construction Window
The Flashing Sequence
There's a right order of operations, and skipping a step is how leaks start. A correct install generally follows this sequence:
- Rough opening is checked for square, level, and correct dimensions before anything else happens.
- A sloped sill pan is formed at the bottom of the opening so any water that reaches that point drains back out, not into the wall.
- The window is set, shimmed, and fastened per the manufacturer's instructions — over-driving or under-driving fasteners both cause problems later.
- Side flashing tapes over the nailing flange, followed by head flashing that laps over the top and directs water out and away.
- The weather-resistive barrier (house wrap) is integrated in shingle fashion — each layer overlapping the one below it — so water always moves down and out, never behind the flashing.
Fasteners and Materials for Salt-Air Exposure
Given the marine air in this part of Whatcom County, we lean toward stainless steel or coated corrosion-resistant fasteners for window installation rather than standard zinc-plated screws, especially for homes closer to the water. It's a small material upgrade during construction and a meaningful difference in how the hardware holds up over the following decade.
Picking Frame Materials and Glass for This Climate
There's no single "best" window brand — the right choice depends on budget, the look of the home, and how much exposure that side of the house gets. Frame material is usually the bigger decision.
| Frame Material | Salt-Air / Moisture Durability | Maintenance | Relative Cost |
|---|---|---|---|
| Vinyl | Good — won't corrode or rot | Low | Lower |
| Fiberglass | Very good — stable in wet, salty conditions | Low | Mid to higher |
| Aluminum-clad wood | Good exterior protection, but relies on sealed joints | Moderate | Higher |
| Bare aluminum | Prone to corrosion in salt air over time | Higher | Lower to mid |
We generally steer new-construction clients in the Birch Bay and Nooksack area away from bare aluminum frames on exposed elevations — not because it's a bad product everywhere, but because uncoated aluminum has a harder time in sustained salt air, and the maintenance burden shows up sooner than most homeowners expect. Vinyl and fiberglass tend to be the more forgiving, lower-maintenance choices for this climate, with fiberglass offering more dimensional stability on larger openings.
On the glass side, a Low-E coating with an argon-filled sealed unit is standard practice for new builds here — it helps with both energy performance and condensation resistance during the damper months.
Our Process on Nooksack-Area Job Sites
Coordinating With Your Builder or GC
New-construction window work has to happen at the right point in the framing schedule — not too early, not after siding prep has already started. We coordinate directly with the general contractor or framing crew so window installation lines up cleanly with the house wrap and rough opening work, rather than becoming a scheduling scramble.
On-Site Quality Checks
Before we call a window "done," we check square and plumb, confirm the sill pan drains correctly, verify flashing laps in the right direction, and test operation of every sash. We'd rather catch a shimming issue on install day than have it show up as a stuck lock or a draft two winters later.
Final Walkthrough
Once windows are set and flashed, we walk the openings with you or your builder before siding closes everything up. That's the last point where any adjustment is a quick fix instead of a tear-out.
Checklist: What to Confirm Before Your Windows Go In
- Rough openings match the window schedule and are square before delivery
- Sill pan flashing is specified and sloped to drain outward
- Fasteners and flashing tape are rated for coastal/marine exposure
- Frame material and glass package are appropriate for the wall's sun and rain exposure
- Installation timing is coordinated with the house wrap and siding schedule
- U-factor and energy specs meet current Washington State Energy Code requirements
- A walkthrough is scheduled before siding covers the flashing work
Energy Code, Permits, and Inspections
New-construction windows in Whatcom County have to meet current Washington State Energy Code requirements for U-factor and, depending on the project, solar heat gain criteria. On a new build, window installation is typically part of the framing or rough-in inspection your builder schedules with the county — it's worth confirming ahead of time which inspections your window work needs to pass and when, so nothing holds up your siding or drywall schedule.
Why Local Experience in Nooksack and Birch Bay Matters
A window installer who's only ever worked drier, inland conditions may not think twice about flashing details or fastener choice that make a real difference here. We work new-construction projects throughout the Birch Bay area, including homes around Nooksack, so the flashing sequence, material choices, and fastener specs we use are based on what actually holds up against this region's salt air and driving rain — not a generic install method applied everywhere. That local familiarity is also why we can speak plainly about trade-offs between frame materials or glass packages instead of just upselling the most expensive option.
If you're framing a new home or addition in the Nooksack area and want windows installed right the first time, we're happy to walk your plans, talk through frame and glass options for your specific site, and give you a free, no-pressure estimate. There's a form below — reach out and we'll get you scheduled.