 Birch Bay Siding
 New-Construction Windows: A Different Job Than Replacement
"New-construction windows" is a specific term in our trade, and it's worth understanding before you start pricing a project. These are windows installed with a nailing flange (also called a nail fin) directly into the rough framing during the build, before siding goes on. That's different from a "replacement" or "pocket" window, which is inserted into an existing frame after the fact, using the old frame as part of the structure. For a new build or a full-tear-down-to-the-studs project in Sumas, you want new-construction units installed correctly the first time, because once the siding, trim, and weather barrier are closed up around them, fixing a bad install means tearing back into finished work.
This matters more than most homeowners realize. A new-construction window isn't just a product you buy — it's a system. The window unit, the flashing tape, the weather-resistive barrier (WRB), the sill pan, and the sequencing of how each layer overlaps the next all work together to keep water out. Get the sequencing wrong and the window itself can be flawless and the wall will still leak.
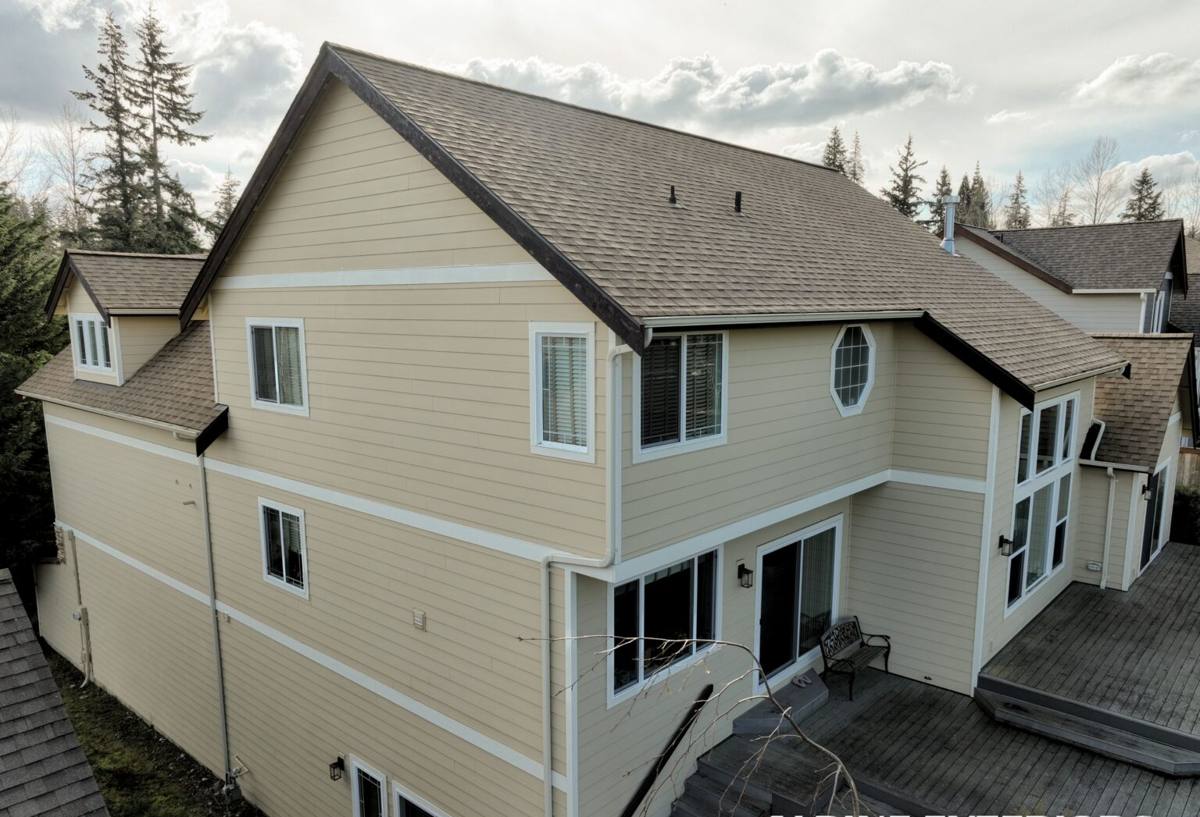
Why This Matters More in the Birch Bay Area
Whatcom County's coastal edge, including the Birch Bay and Sumas service area, deals with a specific combination of conditions that inland or drier climates don't. Salt-laden air off the water accelerates corrosion on hardware, fasteners, and lower-grade metal flashing. Driving rain — wind-driven rather than straight-down — pushes water sideways into gaps that would stay dry in a calmer climate, which is exactly the kind of water intrusion that a properly lapped sill pan and flashing sequence is designed to stop. And the long stretch of damp, low-sun months each year creates an extended moss and algae season that keeps exterior surfaces wet longer than in drier parts of the state, which matters for anything wood-framed or wood-trimmed around a window opening.
None of that means new construction here is exotic or requires unusual products. It means the ordinary details — correct flashing laps, sealed sill pans, compatible tape-to-WRB adhesion, and hardware rated for coastal exposure — actually get tested by the weather, year after year, instead of sitting there untested the way they might in a milder climate.
What a Correct Installation Actually Involves
The Rough Opening and Sill Pan
Before a window ever goes in, the rough opening needs to be square, properly sized, and protected at the bottom with a sloped sill pan. The sill pan is what directs any water that gets past the window — and some always will, over the life of a home — back out to the exterior instead of into the wall cavity. Skipping this step, or using a flat rather than sloped pan, is one of the most common shortcuts we see on builds that later have rot problems.
Flashing Sequence
Water management works on a shingle principle: each layer overlaps the one below it, so water moving down the wall is always directed outward, never into a seam. That means flashing tape at the sill goes on first, then the window's nailing flange, then jamb flashing, then head flashing, then the WRB laps over the top. Reverse any part of that order and you've built a pocket that traps water instead of shedding it.
WRB and Tape Compatibility
Not all flashing tapes bond permanently to all housewrap or sheathing products. Compatibility issues can show up years later as adhesion failure — the tape looks fine on installation day and lets go quietly over time. We use products with documented compatibility rather than guessing based on what's on hand.
Fastening and Air Sealing
The nailing flange needs correct fastener spacing and type to hold the window through wind loading, and the interior side needs to be air-sealed (typically with low-expansion foam or backer rod and sealant) separately from the exterior water management. These are two different jobs — water control outside, air control inside — and conflating them is another common source of long-term problems.
Window Products That Hold Up in This Climate
Frame material matters more here than in a dry inland climate, mainly because of moisture cycling and salt exposure. The table below is a general guide, not a sales pitch for one product — each material has real trade-offs.
| Frame Material | Coastal/Rain Performance | Maintenance | Typical Fit |
|---|---|---|---|
| Vinyl | Good — won't rot or corrode; expands/contracts with temperature | Low | Budget-conscious new builds, rentals |
| Fiberglass | Very good — dimensionally stable, resists moisture and salt air well | Low | Mid-to-upper builds, larger openings |
| Wood-clad (exterior clad, wood interior) | Good if cladding and flashing are correct — cladding protects the wood exterior | Moderate — interior wood may need periodic finishing | Custom or higher-end homes wanting a wood interior look |
| Aluminum | Weaker in salt air unless marine-grade — prone to corrosion and thermal transfer | Higher | Rare in residential new construction here |
We steer most Sumas-area new builds toward vinyl or fiberglass for the exterior-facing performance and the lower long-term maintenance burden, and reserve wood-clad for homeowners specifically after that interior look who understand the added upkeep. This is a judgment call based on trade-offs, not a claim that any one product is defective — it's about matching the material to what the local climate will actually put it through.
Glass and Hardware Notes
- Dual-pane, low-E glass is standard for new construction in this climate and helps with both moisture control (less interior condensation) and energy performance
- Look for hardware — hinges, locks, cranks — rated for coastal or corrosive environments; standard-grade hardware can start showing surface corrosion within a few years near the water
- Weatherstripping quality affects both air sealing and how well the window resists driving rain at the sash-to-frame joint
- Argon or krypton gas fill between panes is common but not essential — it's a performance upgrade, not a moisture-control feature
Our Process, Start to Finish
- Rough opening check — we verify size, square, and plumb before anything is installed, and flag framing issues to the builder or GC before they become window problems
- Sill pan installation — sloped pan flashing set and sealed at the rough sill
- Window set and shim — unit is set level and plumb, shimmed at load points per manufacturer spec
- Flange fastening — correct fastener type and spacing for wind load in this area
- Jamb and head flashing — taped in the correct shingle-lap order
- WRB integration — housewrap lapped over the head flashing and taped, so the whole wall plane sheds water as one system
- Interior air sealing — foam or sealant at the interior gap, separate from the exterior water management
- Final walk-through — every opening checked for square operation, locking, and a clean visual line before we sign off
Common Mistakes We Catch on New Builds
Some of these come from crews rushing to keep pace with a framing schedule; others come from using generic details that weren't designed for wind-driven rain. Either way, they're avoidable with the right sequencing.
- Flat or missing sill pans instead of a sloped, drained pan
- Flashing tape applied out of order, directing water into the wall instead of out of it
- Incompatible tape-to-WRB combinations that look fine at install but fail to bond over time
- Fasteners driven through the flange at the wrong spacing or angle, reducing wind resistance
- Interior foam sealant used as the only air/water barrier, with no exterior flashing behind it
- Rough openings left slightly out of square, forcing the window frame to rack and bind
What Affects the Cost of a New-Construction Window Package
Every build is different, but the factors below are what actually move the price on a Sumas-area new-construction window package. We'll walk through these specifically for your plan set during an estimate rather than quoting off square footage alone.
| Factor | Why It Matters |
|---|---|
| Number and size of openings | Larger and more openings mean more material and more flashing detail work |
| Frame material | Vinyl, fiberglass, and wood-clad carry different unit costs |
| Glass package | Low-E coatings, gas fill, and impact-rated glass add cost over standard dual-pane |
| Wall assembly | Thicker walls, rainscreen gaps, or engineered sheathing change flashing detailing time |
| Access and staging | Multi-story openings or tight lot access add labor time |
| Coordination with framing schedule | Working around a tight GC timeline can affect crew scheduling and sequencing |
Coordinating With Your Builder or General Contractor
New-construction window installation sits right in the middle of the framing and weatherization schedule — too early and the rough openings aren't ready; too late and you're holding up siding and interior work. On most projects we work directly with the GC's schedule, showing up once framing inspection is cleared and before the WRB is fully closed in, so our flashing integrates cleanly with the wrap rather than being patched in afterward. If you're the homeowner managing your own build, or working with a GC we haven't worked with before, we're glad to walk through the sequencing with them directly so there's no ambiguity about who's responsible for what layer.
Why a Crew That Already Works This Area Matters
New-construction window installation is detail work, and the details that matter most are the ones tied to your specific climate exposure — how much wind-driven rain a given elevation of the house actually sees, how long moss and moisture sit on north-facing walls, how salt air factors into hardware and fastener choice. A crew that's done this work across Whatcom County and the Birch Bay and Sumas area has already seen how these builds perform a few years out, not just on install day. That's the kind of judgment that doesn't show up in a spec sheet — it comes from having gone back and looked at what held up and what didn't.
We also know the practical side of working this area: typical framing timelines local builders run on, which products are reliably stocked without long lead-time delays, and how to sequence around the wetter stretches of the year so flashing and sealants cure the way they're supposed to instead of getting installed in the rain.
Getting Started
If you're planning a new build or a full window package in Sumas or elsewhere around Birch Bay, we're happy to take a look at your plans, talk through frame material and glass options, and give you a straightforward estimate — no pressure, no obligation. Reach out through the form below to get started.